Traditional garage power racks are expensive and I just don't have that kind of money. Since I know I am no where close to squatting 300#, a wooden squat rack with galvanized steel plumbing pipes will be sufficient for what I need.
Materials
(2) 4x4x8 ft untreated posts
4" Lag screws
Metal brackets (4 each of both L brackets and Ties)
4 Heavy Duty Hinges
Wood screws (1 1/2")
2"x 8" x 6'
I selected a part of the garage wall that had enough space on either side (for the barbell) and made sure I had at least 2 studs with which to drill in the supports. This section of the garage is just about where the driver side door of my car ends up when I pull into the garage, so it was imperative that the design of this rack was such that it would fold into the wall.
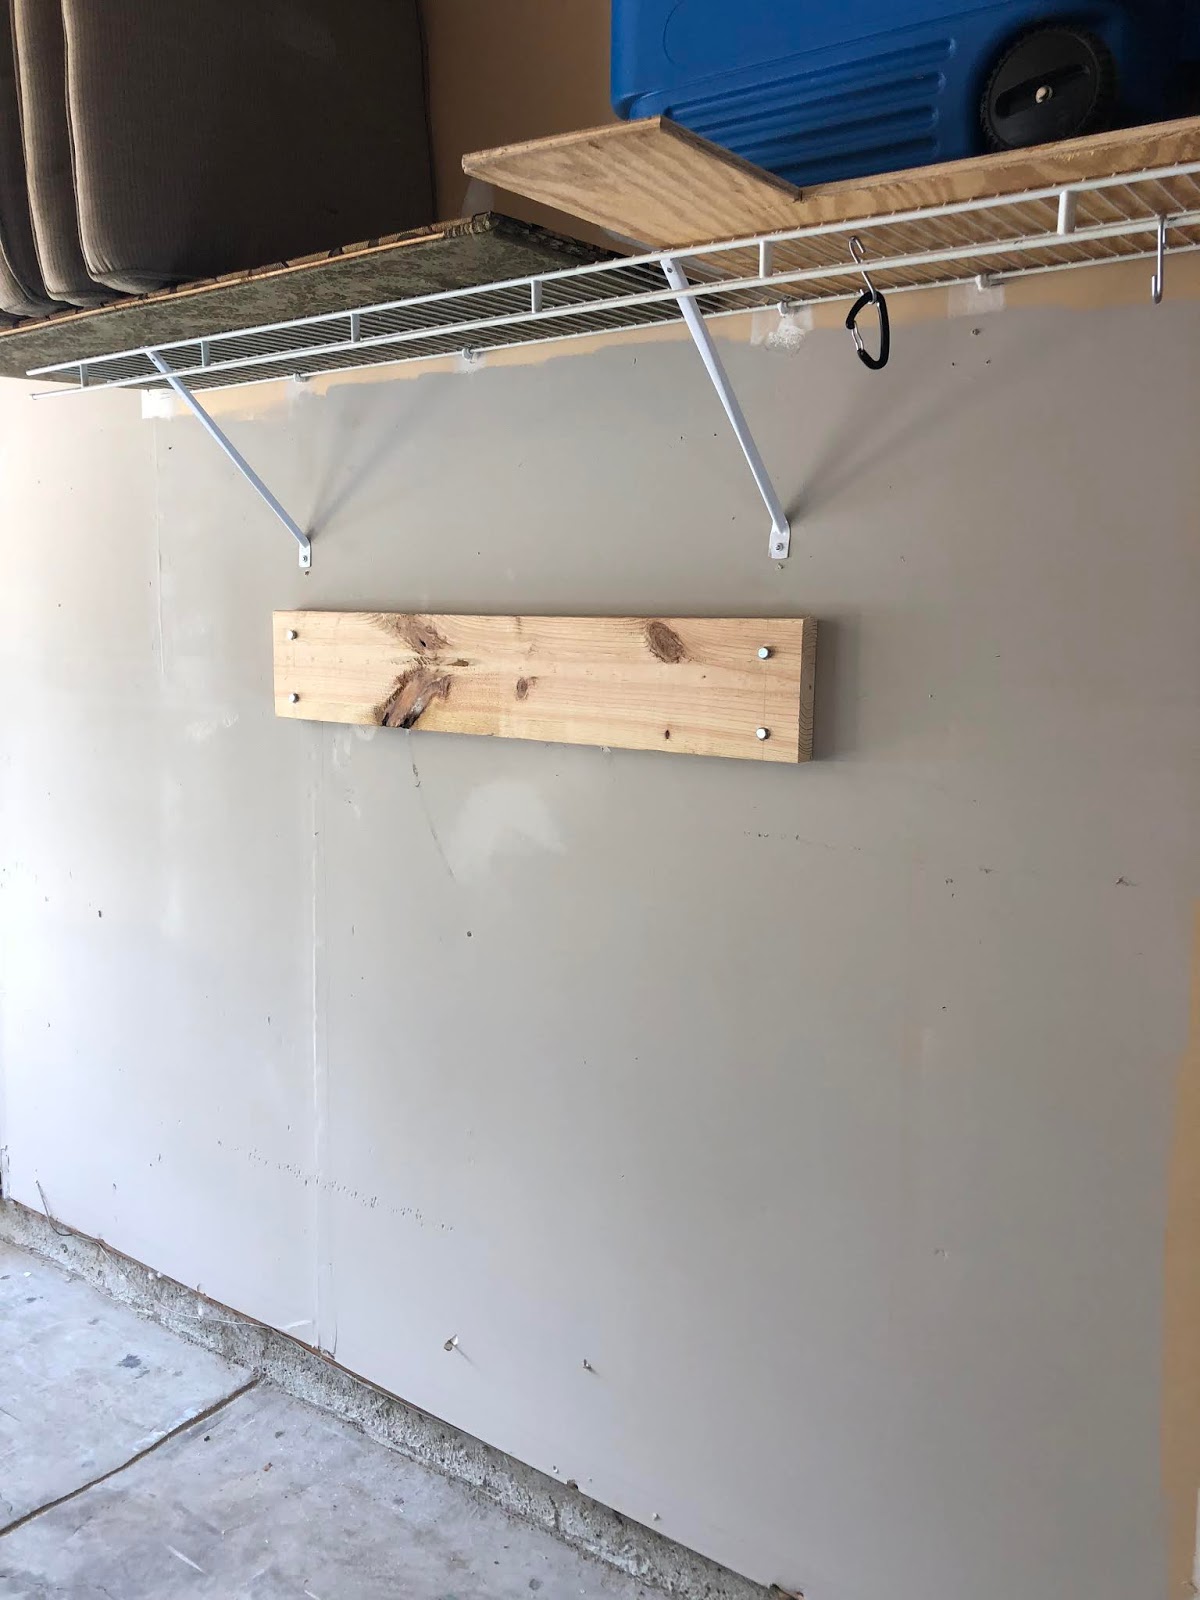
Once the wall is determined, cut a piece of 2"x8" to the length that it can be secured to the studs using 4" lag screws. This piece is 40", as the studs are around 36" center to center on that wall. It is important to leave overlap on either end as this piece is what the top hinges of the rack will be fastened to.
The rack was designed to extend 14" from the wall, so taking into account the 1.5" depth of the 2x8, and the 4x4 post (where the bar will be supported) being only 3.5", it was determined that a 9" section of 4x4 post will need to be cut (x4). As seen in the photo below, secure the hinges to the support and use clamps to screw the hinge into the connecting sections of 4x4. A total of 4 of these will be added- 2 on top, 2 on bottom.

A second support, drilled into studs, will be added at the bottom. I used two 2x8x10" sections instead of the 40" support at the top. (see picture below)

The upright supports are 64" tall. Using metal ties and L-supports (found in the lumber section of Lowes) connect all the joints.
Drill holes at appropriate height for individual needs. I used a 7/8" spade bit to bore the hole and 1/2" (8 inches long) galvanized steel plumbing pipes fit with 90 degree end to support the bar.

I painted it black and added an old mirror to make it look officially official. Have fun squatting!

Great job I am working on building my gym
ReplyDeletehttp://dghandymanservice.com
About how much did this DIY project cost?
ReplyDelete